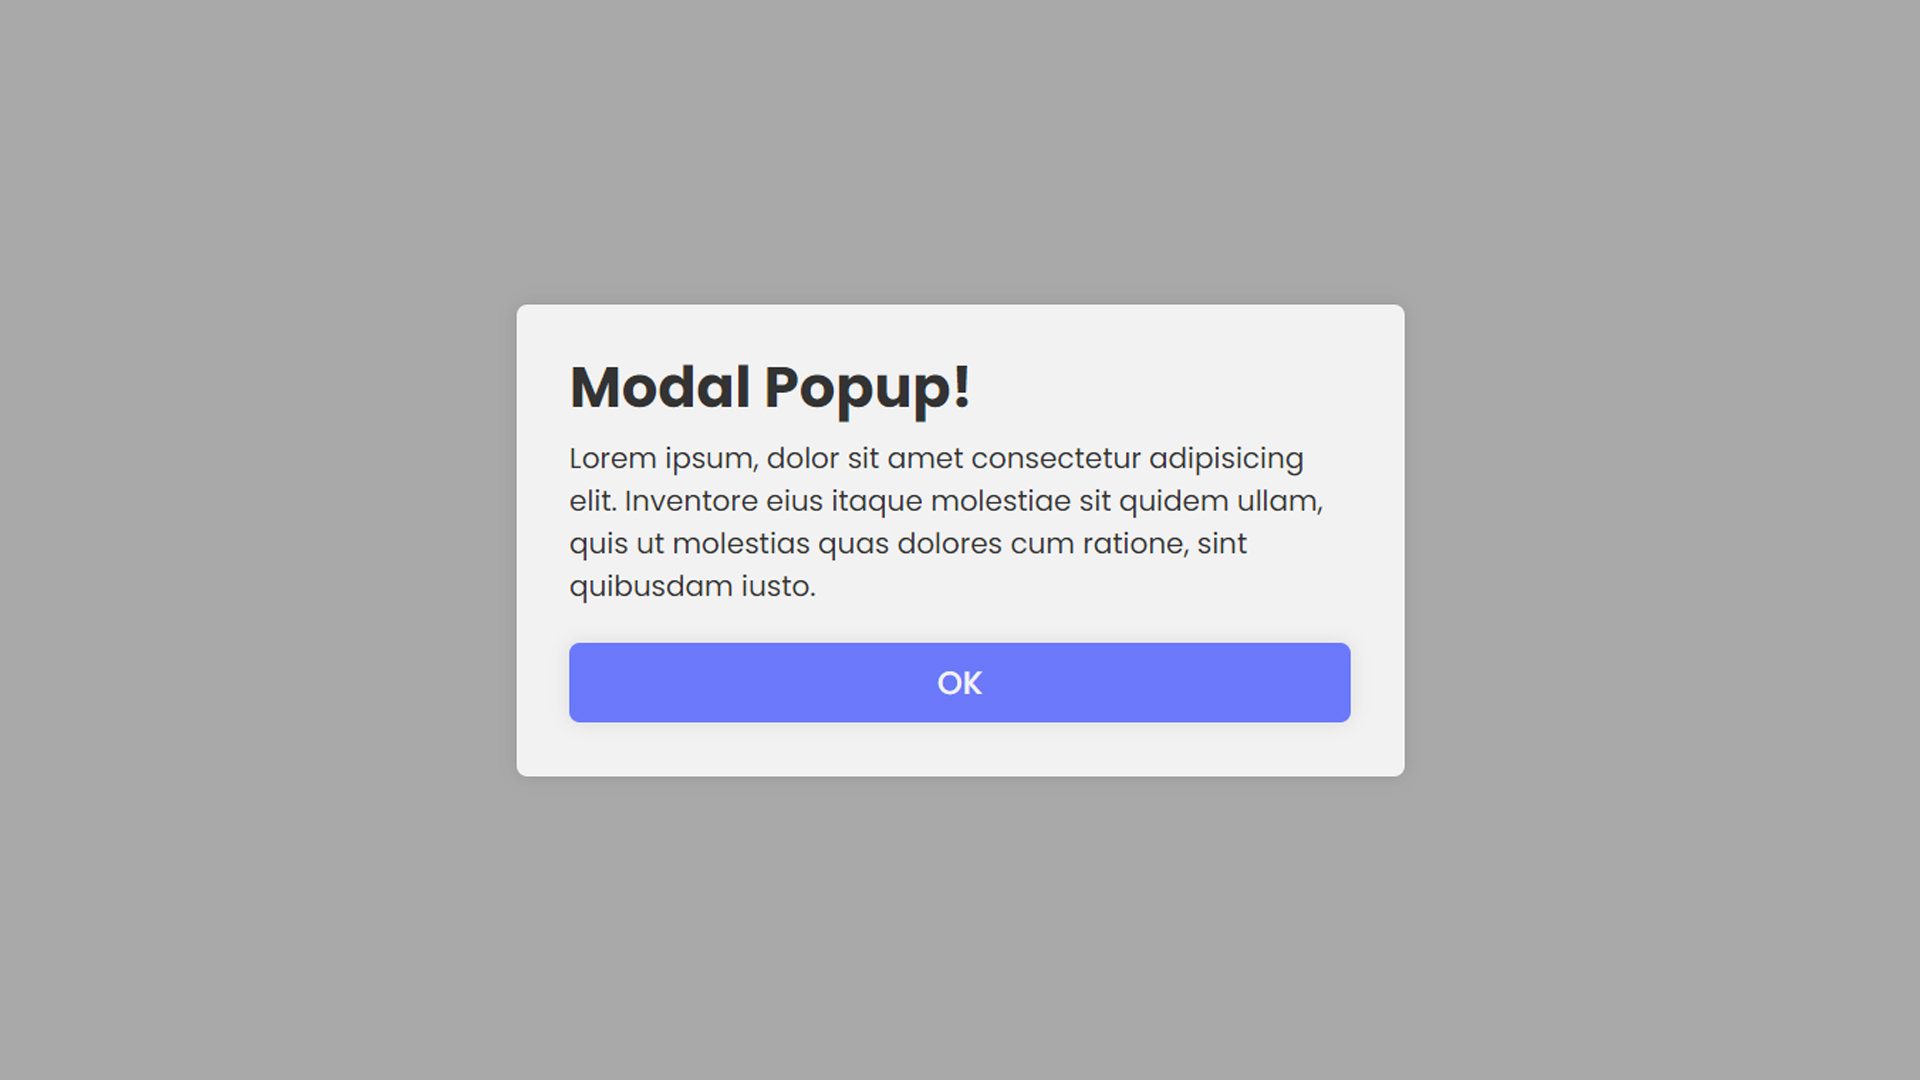
Modal popups provide an elegant solution for displaying additional content or interactions without navigating away from the current page. In this tutorial, we’ll delve into creating a modal popup using JavaScript, CSS, and HTML. Follow the steps below to master the art of modal popups.
1. HTML Structure:
Start by creating the HTML structure for your modal. Define a button or link that will trigger the modal, and set up the modal container. Here’s a basic example:
<!DOCTYPE html>
<html lang="en">
<head>
<meta charset="UTF-8">
<meta name="viewport" content="width=device-width, initial-scale=1.0">
<link rel="preload" href="styles.css" data-rocket-async="style" as="style" onload="this.onload=null;this.rel='stylesheet'" onerror="this.removeAttribute('data-rocket-async')" >
<title>Your Web Page Title</title>
</head>
<body>
<button id="openModalBtn">Open Modal</button>
<div id="myModal" class="modal">
<div class="modal-content">
<span class="close">×</span>
<p>Your modal content goes here.</p>
</div>
</div>
<script src="script.js" defer></script>
<script>"use strict";function wprRemoveCPCSS(){var preload_stylesheets=document.querySelectorAll('link[data-rocket-async="style"][rel="preload"]');if(preload_stylesheets&&0<preload_stylesheets.length)for(var stylesheet_index=0;stylesheet_index<preload_stylesheets.length;stylesheet_index++){var media=preload_stylesheets[stylesheet_index].getAttribute("media")||"all";if(window.matchMedia(media).matches)return void setTimeout(wprRemoveCPCSS,200)}var elem=document.getElementById("rocket-critical-css");elem&&"remove"in elem&&elem.remove()}window.addEventListener?window.addEventListener("load",wprRemoveCPCSS):window.attachEvent&&window.attachEvent("onload",wprRemoveCPCSS);</script><noscript><link rel="stylesheet" href="https://cyberdesign.ro/wp-content/cache/min/1/20b3a7d12955f9e2f4f99ae602e5a97d.css" media="all" data-minify="1" /><link rel='stylesheet' id='elementor-post-14-css' href='https://cyberdesign.ro/wp-content/uploads/elementor/css/post-14.css?ver=1771527956' media='all' /><link rel='stylesheet' id='elementor-post-71-css' href='https://cyberdesign.ro/wp-content/uploads/elementor/css/post-71.css?ver=1771527956' media='all' /><link rel='stylesheet' id='elementor-post-78-css' href='https://cyberdesign.ro/wp-content/uploads/elementor/css/post-78.css?ver=1771527956' media='all' /><link rel='stylesheet' id='elementor-post-57-css' href='https://cyberdesign.ro/wp-content/uploads/elementor/css/post-57.css?ver=1771527966' media='all' /><link rel="stylesheet" href="styles.css"></noscript></body>
</html>
2. CSS Styling:
Style your modal using CSS to control its appearance. Customize the styles according to your project’s design:
					/* styles.css */

.modal {
  display: none;
  position: fixed;
  top: 0;
  left: 0;
  width: 100%;
  height: 100%;
  background-color: rgba(0, 0, 0, 0.5);
}

.modal-content {
  position: absolute;
  top: 50%;
  left: 50%;
  transform: translate(-50%, -50%);
  background-color: #fff;
  padding: 20px;
}

.close {
  position: absolute;
  top: 10px;
  right: 10px;
  font-size: 20px;
  cursor: pointer;
}
3. JavaScript Interaction:
Add JavaScript functionality to handle the opening and closing of the modal:
					// script.js

const openModalBtn = document.getElementById('openModalBtn');
const modal = document.getElementById('myModal');
const closeBtn = document.querySelector('.close');

openModalBtn.addEventListener('click', () => {
  modal.style.display = 'block';
});

closeBtn.addEventListener('click', () => {
  modal.style.display = 'none';
});

// Close modal if clicked outside the content
window.addEventListener('click', (event) => {
  if (event.target === modal) {
    modal.style.display = 'none';
  }
});
Now, you have a basic modal popup that opens when the button is clicked and closes when the close button or the outside area is clicked.
4. Customize and Integrate:
Customize the modal content and styles according to your project’s requirements. Integrate the modal into your web pages by copying the HTML structure and linking the CSS and JavaScript files.
Congratulations! You’ve successfully created a modal popup using JavaScript, CSS, and HTML. Enhance and tailor this example to suit your specific needs for a seamless integration into your web projects.


